I may not be a kid anymore but that does not mean that I can't enjoy a gummy snack here or there!
Everyone knows them and loves them. We all had our favorite flavor and the ones we pawned off on friends in the cafeteria cause we hated the flavor ( mine were the grapes.....ewwww) But either way we all have great memories with them as kids. Being an adult now and buying them, they are EXPENSIVE! lol and not to mention not too healthy :/ BOOO
Solution??? DIY of course!!! I am slowly learning ( with the help of Pinterest of course) You can make everything and everything homemade, and at a fraction of the cost!
The Recipe
1 3oz packet your choice of Jello
1 packet (1oz( unflavored gelatin
1/2 cup water
Directions:
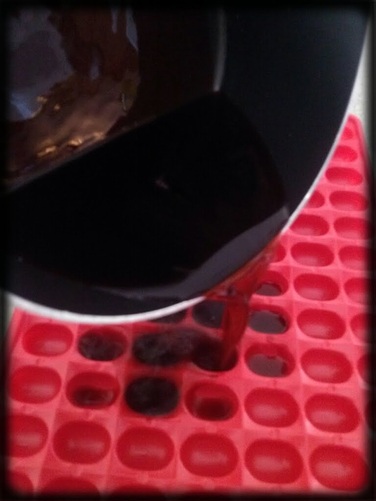
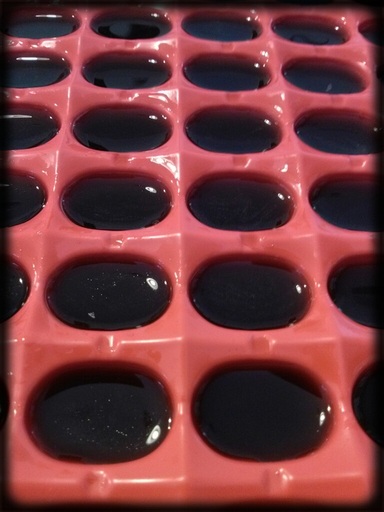
Sprinkle the gelatin and Jello packet over the water in a small saucepan. Heat over medium heat and stir until gelatin is completely dissolved. Pour into molds ( you can get these at walmart or run to your local dollar store and grab some ice cube trays!) and allow to set at least 20 minutes. then move to fridge for 20 more minutes.
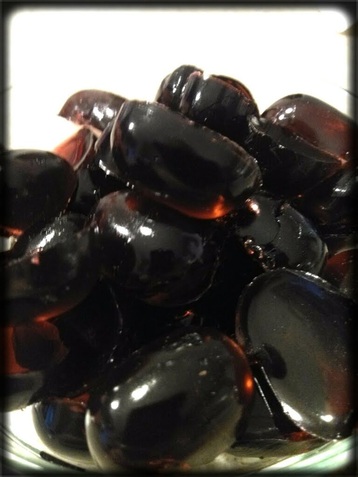
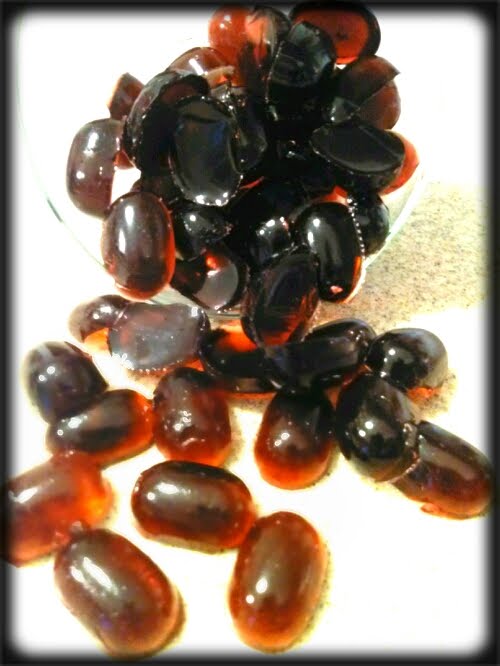
There you have it. DIY Gummy snacks. These are not mushy like Jello thanks to the added gelatin. You can use any flavor Jello pack. I used the 10 cal black cherry. All together I got about 50-55 little sweet gummies....Do you wanna know the best part though?!?! There is only one calorie per gummy!!! Beat that store bought gummies!!! Low calorie but full of flavor! and price you ask? Under $1 for the whole batch!!! Double Score!
I always love to try new food whenever possible. I always try anything once, and yes I do mean anything, to include insects! ( Which are actually very yummy) So when my husband and I tried a new Kabob restaurant right out side of the base we are stationed at and I saw Lassi on the menu, I of course had to jump on that since I have never had it! I was not disappointed.
What the heck is Lassi??
Good question! If I was to describe it to someone who has no idea what is was I would say " Heaven in your mouth" haha. Okay it is really that good but, the basis of Lassi is a Yogurt based drink that comes from the Indian Based Continent.
Traditional lassi (also known as salted lassi, or, simply lassi) is a savory drink sometimes flavored with ground roasted cumin while sweet lassi on the other hand is blended with sugar or fruits instead of spices.
There are so many ways to make it from Mint, to Mango, to traditional with cumin and other spices. I decided to make a DIY lassi at home for breakfast! Not only does this taste good but its a healthy twist on breakfast, or a snack! My Recipe!
1 cup yogurt
1 cup distilled water
1/2 cup fresh pineapple
1/2 banana ( I freeze mine)
a pinch of chia seeds ( Yes, not in any way a tradition lassi but I LOVE chia seeds)
1 handful of ice
Simply add to blender and blend till smooth. The chia seeds will thicken it up a little and I honestly love seeds in any kind of fruity drink.
This ends up making about 3 cups once all done and its under 260 calories!!! ( this all depends on the yogurt you use!!! )
While some may call it a smoothie, I will stick with calling it Lassi as it sounds more exotic and the base ingredients are the same water, yogurt ( or curds) and ice.
Go ahead go try your own and tell me how it taste!!
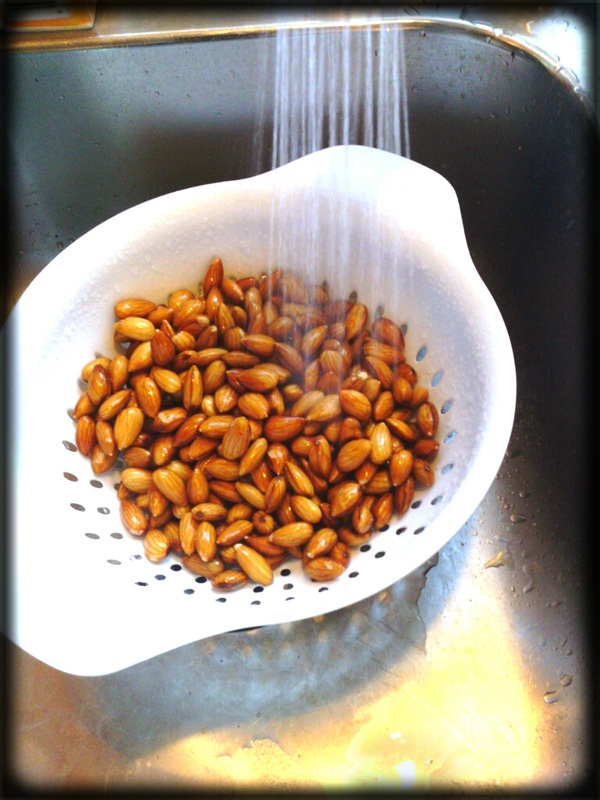
Don't those almonds just make your mouth water?
I am not one to personally drink cows milk. It's not that I am lactose intolerant or anything, I personally don't care for the taste unless its TRULY Fresh!! Right out of the utter fresh.
So with that came alternatives, there was Soy milk it was okay. Then I tried Almond milk and WOW! It was great. However there was something missing or should I say a little to much added?
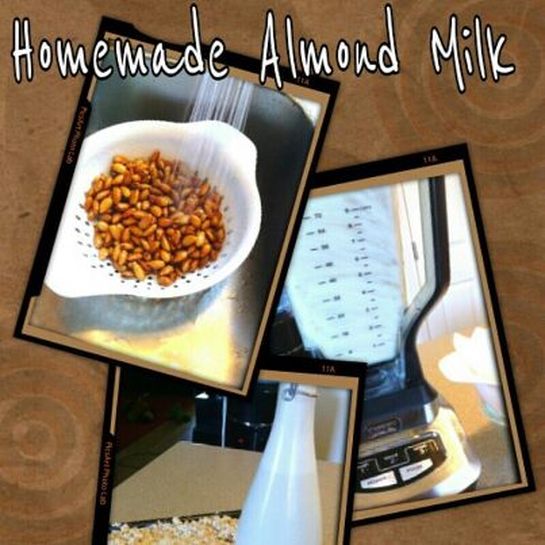
It just didn't taste natural to me but was still good! So I looked at the ingredient list. Holy Sodium Bat Man!!! not to mention some controversial flavorings ( shouldn't all the flavor come FROM the almonds themselves?!?!) Which is where I think I was picking up that odd flavor up that I couldn't put my finger on. So on to more research, and come to find out its SIMPLE to make your own!!! who knew ( Thank you Pinterest!)
Makes about 4 Cups- 1 C. Raw Almonds
- 1 Tbsp organic Maple Syrup
- Pinch of Pink Himalayan Sea Salt
- 3 C. Water
1. Place almonds in a large bowl and allow to soak overnight ( You can also "quick" soak by doing a quick boil with them).
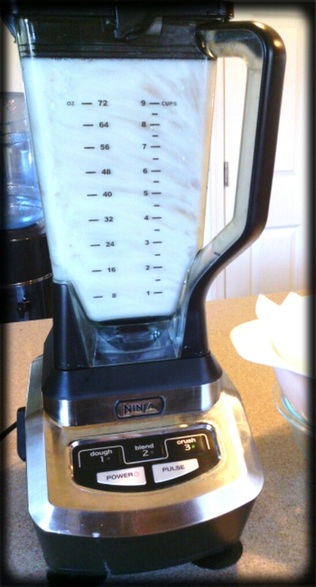
2. The next day, strain and rinse your almonds ( no need to skin the almonds. Some do recommend it but I have done it both ways and find more flavor with leaving skins on!) Next place in a blender with 3 C. filtered water. Blend on high for 2 minutes or until completely combined.
3. Add the remaining ingredients and pulse 4-5 times until will incorporated.
4. Run through a fine mesh strainer lined with cheese cloth and into a jug with a tight fitting lid.
Store in the fridge, and consume within 3-4 days.
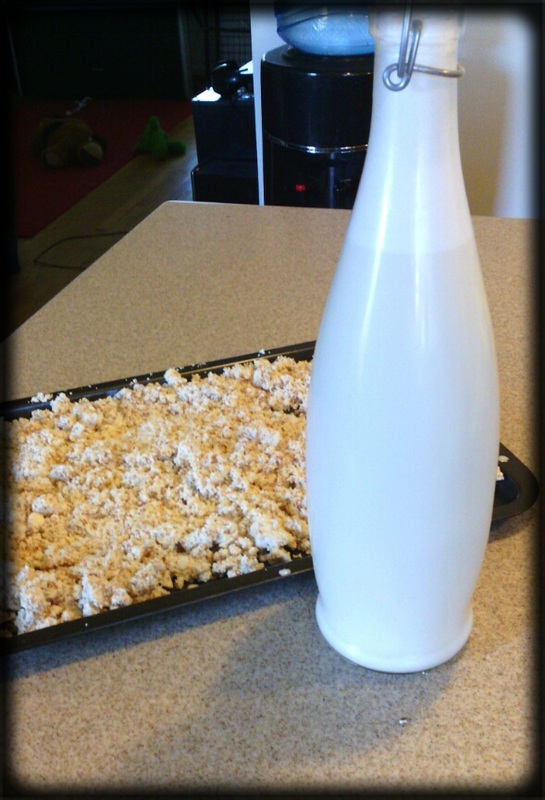
and like magic you have to die for almond milk!! You know exactly what in it and let me tell you this will NOT last very long because of how tasty it is. My Husband LOVES this and every time I make it if I don't steal a glass right when done... I tend not to get any! haha
Don't forget to save that pulp!!! Make sure to dry it out. I like to pop mine in the oven for a quick toast. Then store in an airtight container. Add to yogurt, granola, oatmeal, salads ect. The possibilities are endless. I like to use it as a coating on baked chicken! YUMO or grind it down to Almond flour!
So not only do you get almond milk you get the pulp as well so its like a buy one get one free ( plus its cheaper to make then buy ;) )

 RSS Feed